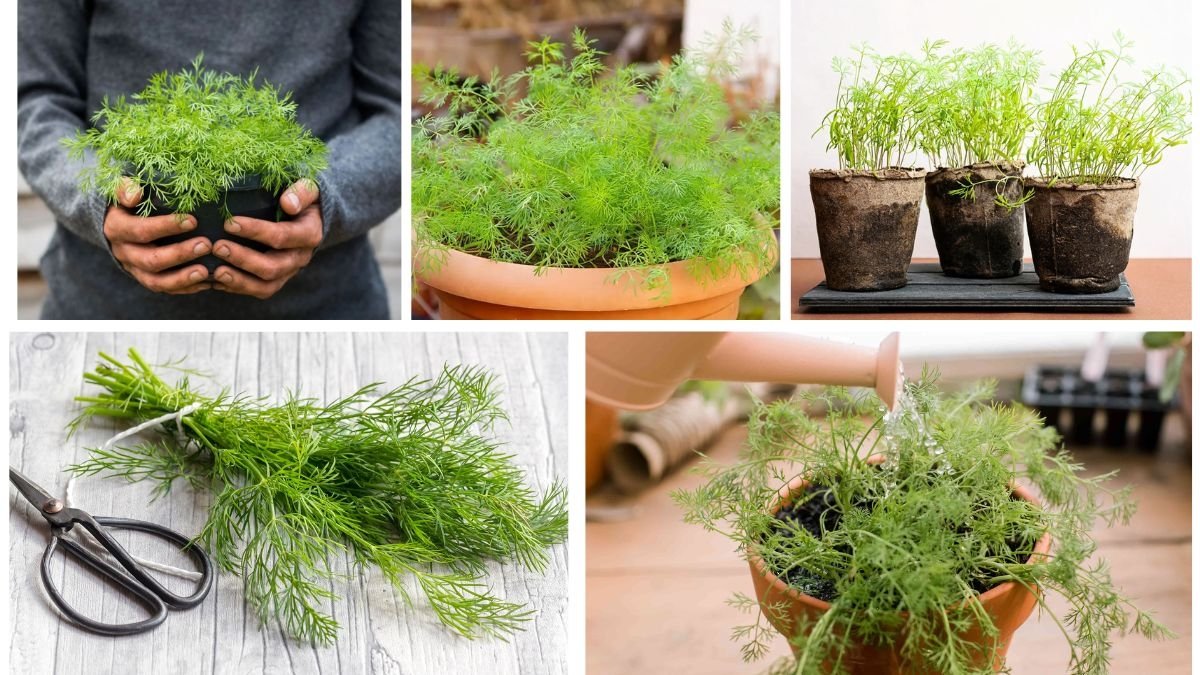
Dill (Anethum graveolens) is a versatile, aromatic herb cherished for its feathery leaves and distinctive flavor. Often used to season pickles, soups, fish, and salads, dill is one of the easiest herbs to grow at home. Not only does it enhance your dishes, but it also attracts beneficial insects like pollinators and predatory wasps, making it a fantastic companion plant in your garden. Whether you’re a beginner or an experienced gardener, growing dill can be a rewarding experience.
This step-by-step guide will walk you through everything you need to know about growing dill successfully in your garden—from choosing the right spot to harvesting fragrant leaves and seeds.
Step 1: Understand Dill’s Growing Needs
Before planting dill, it’s important to know what this herb thrives on:
- Sunlight: Dill loves full sun, requiring at least 6–8 hours of direct sunlight daily.
- Soil: Prefers well-draining, slightly acidic to neutral soil with a pH between 5.5 and 7.5. Loamy or sandy soil is best.
- Watering: Dill needs consistent moisture, especially during germination, but avoid waterlogging.
- Temperature: Grows best in cool to moderate temperatures, around 15–24°C (60–75°F). It tends to bolt quickly in hot weather.
Knowing these basics ensures you’ll create the right environment for your dill plants to thrive.
Step 2: Choose the Right Dill Variety
Several dill varieties exist, and your choice depends on whether you want leaves for cooking or seeds for pickling. Some popular types include:
- Bouquet Dill: Fast-growing, excellent for seeds and quick harvest.
- Mammoth Dill: Large plants with strong flavor, perfect for seed production.
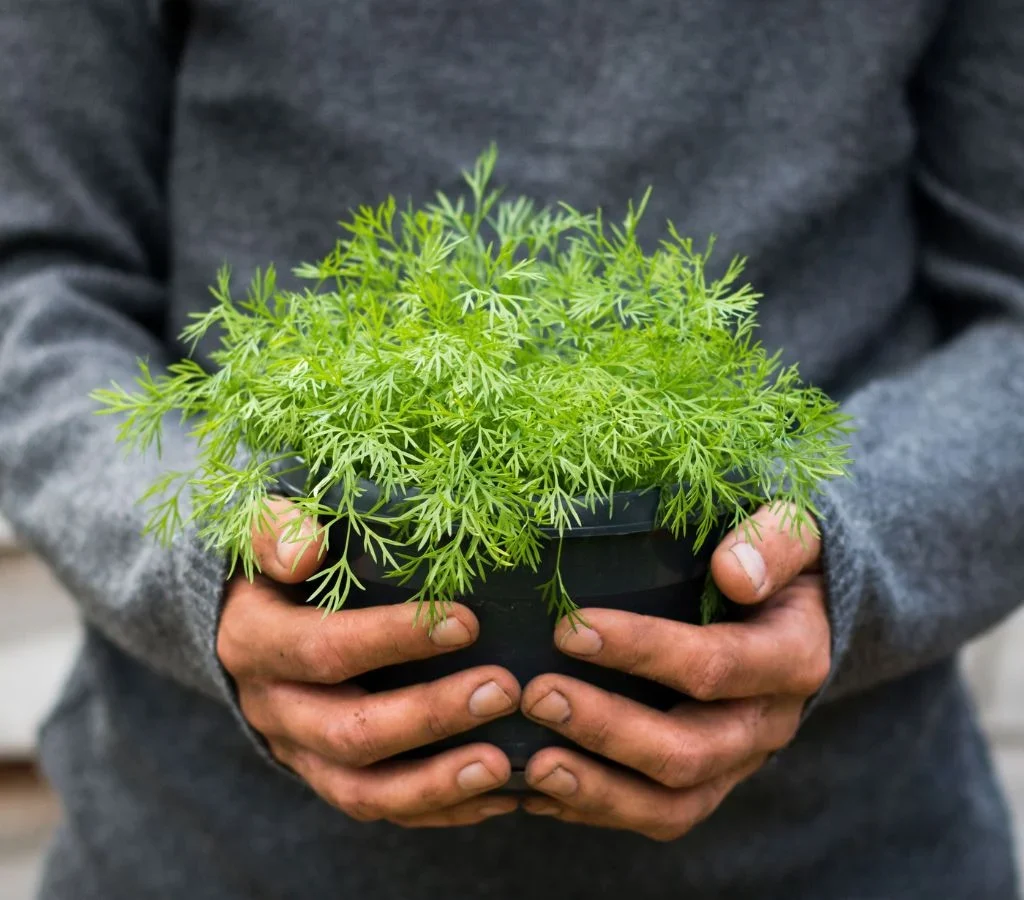
- Fernleaf Dill: Compact, slow to bolt, making it ideal for small gardens or containers.
- Dukat Dill: Known for sweeter leaves, excellent for culinary use.
For beginners, Fernleaf Dill is a good choice since it is more manageable and suitable for container gardening.
Step 3: Prepare the Soil
To prepare your garden for dill planting:
- Loosen the Soil: Use a garden fork or tiller to loosen the soil up to 12 inches deep. Dill develops a long taproot and needs soft, aerated soil to grow well.
- Amend the Soil: Mix in compost or well-rotted manure to enrich the soil with organic matter. Avoid nitrogen-heavy fertilizers as they encourage excessive leaf growth but reduce flavor.
- Check Drainage: If your soil retains water, consider planting dill in raised beds or containers.
Step 4: Plant Dill Seeds
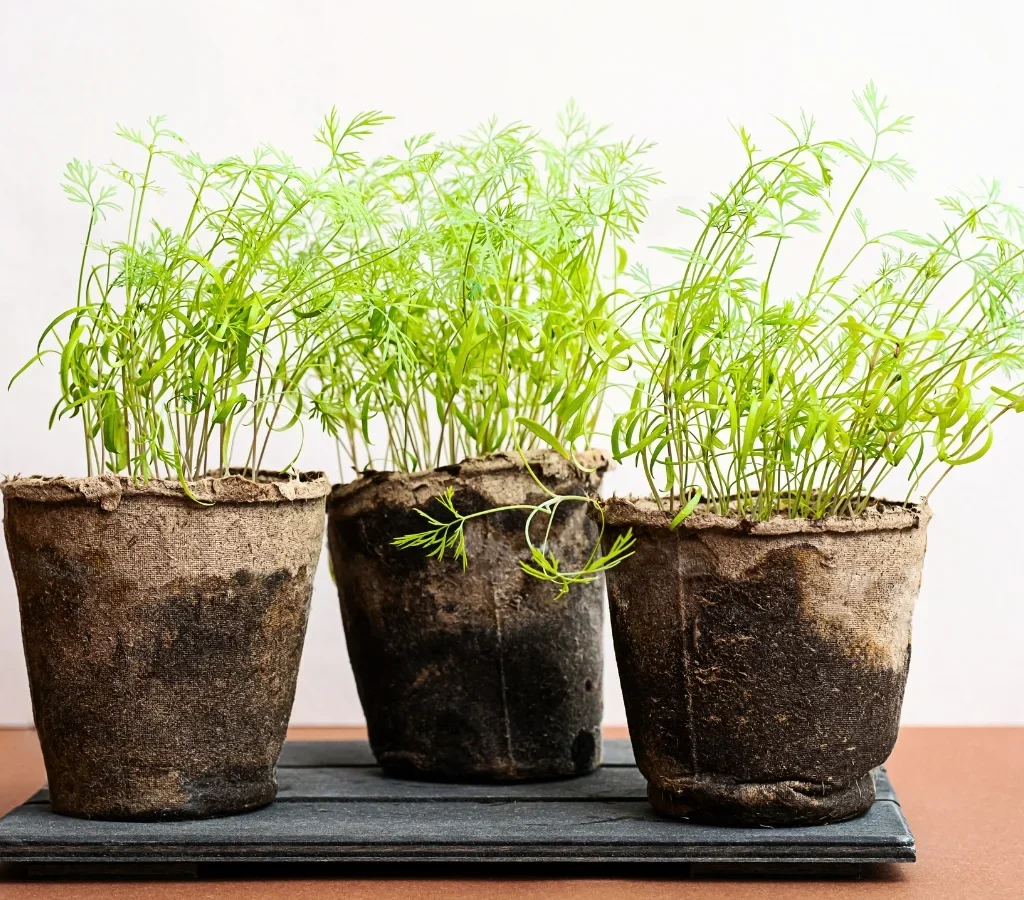
Dill grows best when sown directly into the soil since transplanting can disturb its taproot. Here’s how:
- Timing: Sow dill seeds outdoors after the last frost date in spring. For a continuous harvest, sow seeds every 2–3 weeks.
- Depth: Plant seeds about ¼ inch deep.
- Spacing: Thin seedlings to 12–18 inches apart once they reach 2–3 inches tall. Rows should be spaced 18–24 inches apart.
- Watering: Keep the soil consistently moist until seeds germinate, which usually takes 7–14 days.
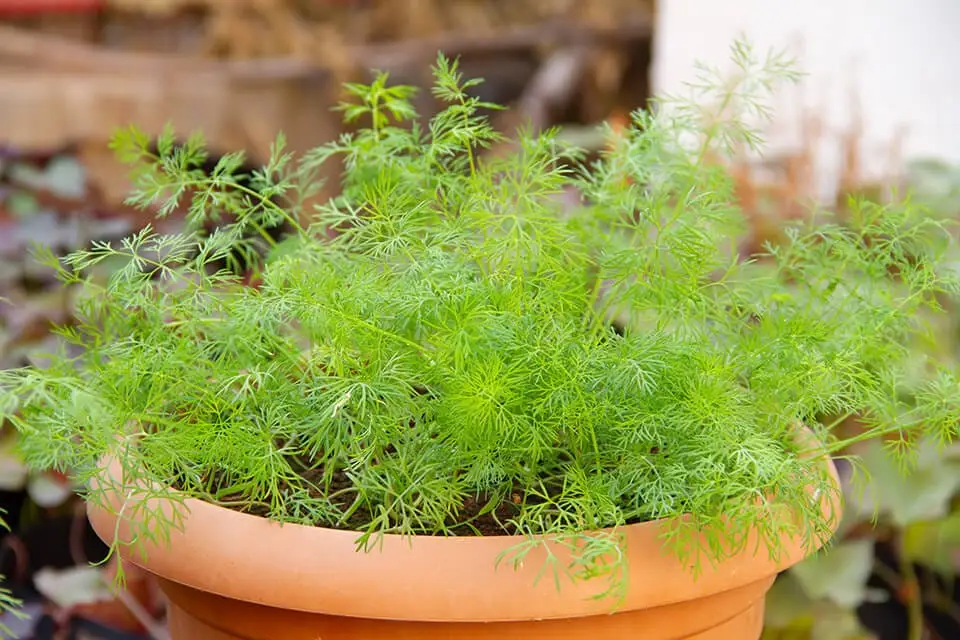
Tip: If growing indoors, use a deep pot (at least 12 inches) to accommodate dill’s taproot.
Step 5: Care for Your Dill Plants
Once seedlings establish, dill requires minimal care, but following these practices will ensure healthy growth:
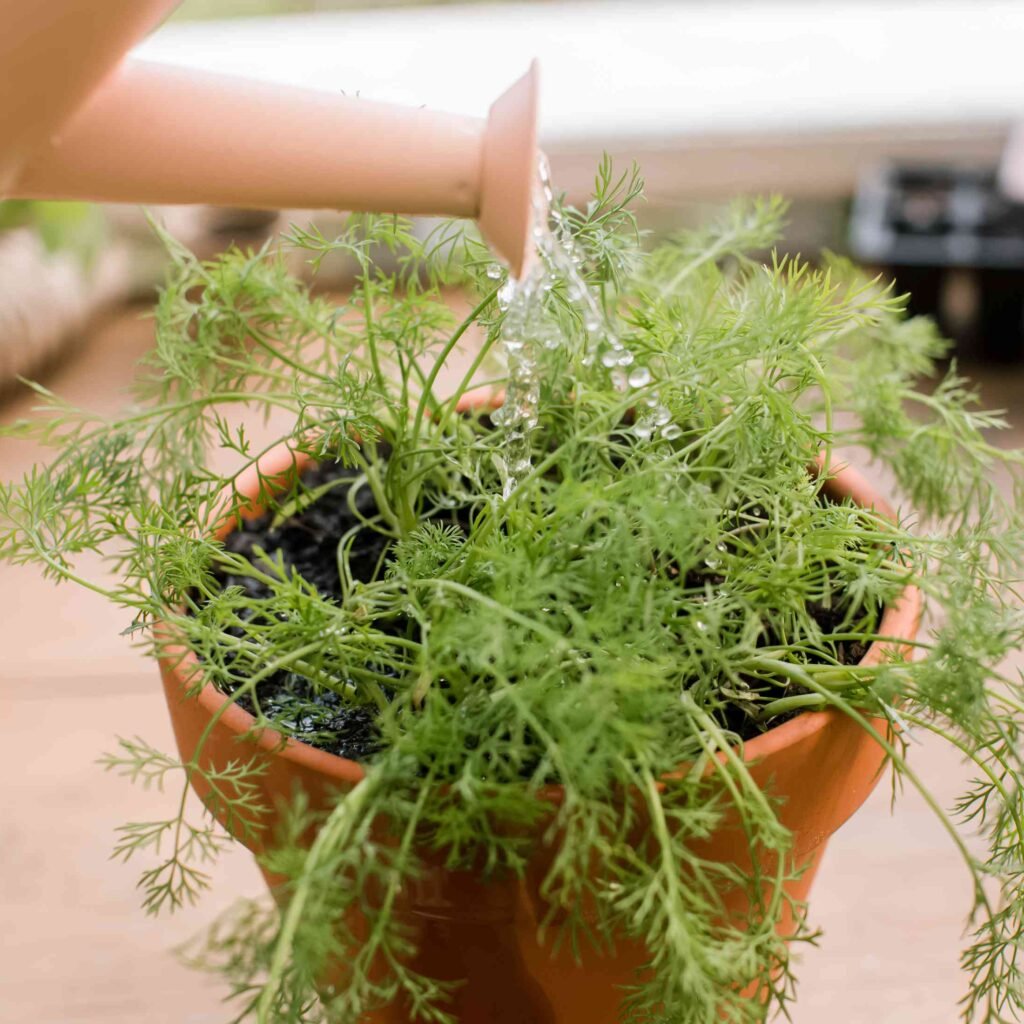
Watering
- Water deeply once or twice a week, depending on rainfall.
- Ensure soil is evenly moist but not soggy.
Fertilizing
- Dill is not a heavy feeder. A light application of compost tea or balanced fertilizer every 4–6 weeks is enough.
- Avoid over-fertilizing, which may reduce essential oil concentration, making dill less aromatic.
Mulching
- Apply a thin layer of mulch around plants to retain moisture and suppress weeds.
Thinning & Support
- Thin overcrowded seedlings to allow airflow and prevent disease.
- Tall dill varieties may require staking to prevent bending or breakage from wind.
Step 6: Manage Pests and Diseases
Dill is relatively pest-resistant, but some issues may arise:
- Pests: Aphids, caterpillars, and spider mites occasionally feed on dill. Handpick them or spray with neem oil.
- Diseases: Fungal issues like powdery mildew may occur in humid conditions. Prevent by spacing plants properly and watering at the base rather than overhead.
A major benefit of dill is that it attracts ladybugs, hoverflies, and lacewings, which prey on harmful garden pests.
Step 7: Companion Planting with Dill
Dill works beautifully with certain plants but should be avoided near others:
- Good Companions: Cabbage, broccoli, onions, cucumbers, and lettuce benefit from dill’s pest-repelling properties.
- Bad Companions: Keep dill away from carrots and tomatoes since it may stunt their growth or cross-pollinate with carrots.
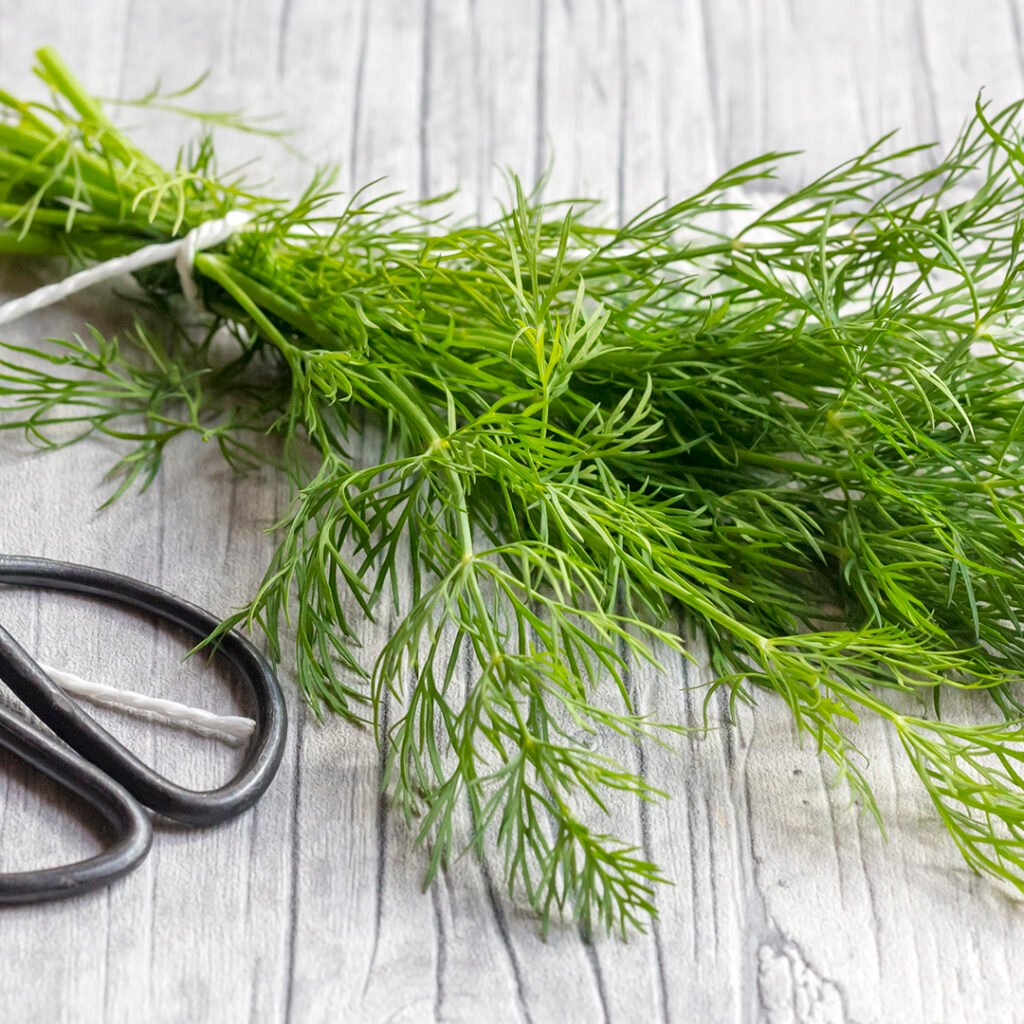
Step 8: Harvesting Dill Leaves
The most rewarding part of growing dill is harvesting its delicate leaves.
- When to Harvest: Begin harvesting when plants are about 8 inches tall.
- How to Harvest: Snip the feathery leaves using scissors, starting from the outer sections.
- Frequency: Regular harvesting encourages new growth. Avoid cutting more than one-third of the plant at a time.
Fresh dill leaves have the strongest flavor, so harvest just before using them in recipes.
Step 9: Harvesting Dill Seeds
Dill seeds are as valuable as the leaves, especially for pickling.

- When to Harvest: Seeds are ready when flower heads turn brown and seeds start to harden.
- How to Collect: Cut seed heads and place them upside down in a paper bag. Hang the bag in a warm, dry place until seeds fall off.
- Storage: Store seeds in airtight jars in a cool, dark place. Properly dried seeds last up to 3 years.
Step 10: Storing Dill
If you have more dill than you can use fresh, preserve it for later:
- Refrigeration: Wrap fresh sprigs in damp paper towels and store in a plastic bag for up to a week.
- Freezing: Chop leaves, place in ice cube trays with water or olive oil, and freeze.
- Drying: Air-dry or use a dehydrator, though note that dried dill loses some flavor compared to frozen dill.
Step 11: Using Dill in the Kitchen
Dill enhances both simple and gourmet dishes. Common uses include:
- Fresh leaves for salads, soups, dips, and fish dishes.
- Seeds for pickling cucumbers, seasoning bread, and flavoring stews.
- Infused oils, vinegars, and butters for aromatic cooking.
With dill at hand, your meals will always have a fresh and fragrant twist.
Conclusion
Growing dill in your garden is both simple and rewarding. This low-maintenance herb not only elevates your cooking with its distinct aroma and flavor but also improves your garden’s health by attracting pollinators and beneficial insects. From preparing the soil and planting seeds to harvesting leaves and seeds, dill provides multiple benefits at every stage of growth.
By following this step-by-step guide, even beginners can cultivate lush dill plants that produce flavorful leaves and seeds for months. So, the next time you want to add a fresh burst of flavor to your dishes or a splash of greenery to your garden, consider growing dill—it’s one of the most versatile herbs you can grow at home.
Leave A Comment