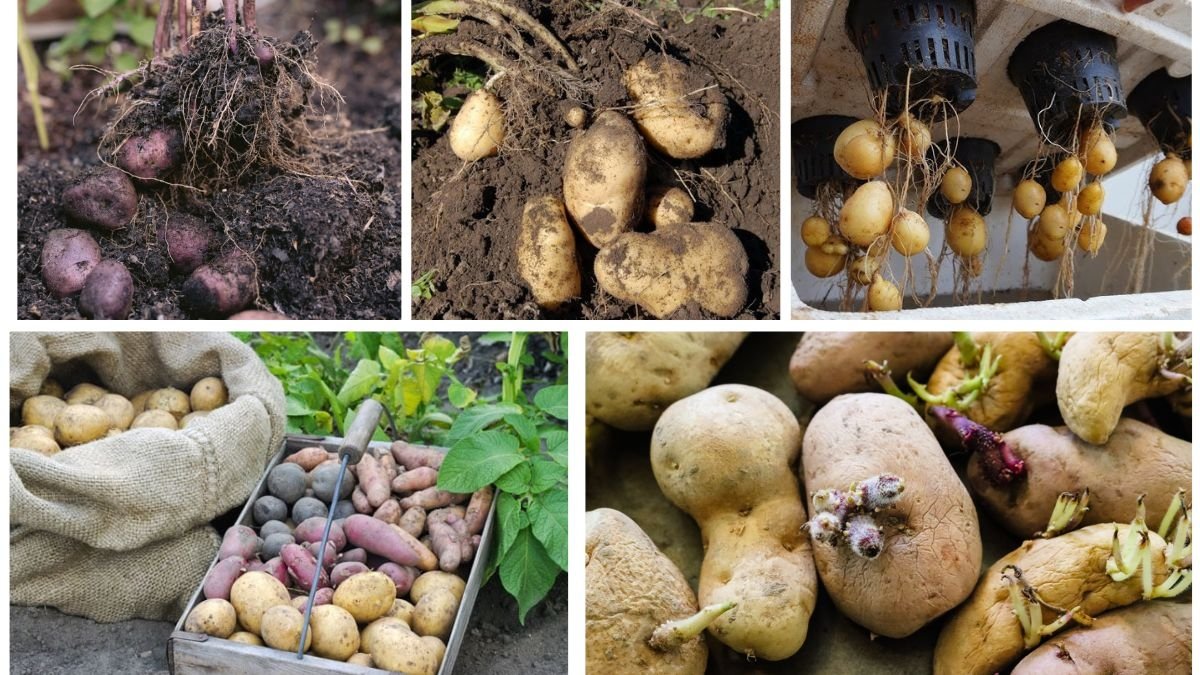
Potatoes are one of the most versatile and widely consumed vegetables across the world. From mashed potatoes to fries, curries, and soups, they’re an essential part of daily meals. The good news is that you don’t always need to buy seed potatoes or invest heavily in gardening supplies to grow them. With just some kitchen leftovers, you can start your very own potato garden at home. This not only helps reduce waste but also provides you with fresh, chemical-free harvests right from your backyard, balcony, or even containers.
This article provides a comprehensive, step-by-step guide on growing potatoes from kitchen scraps, along with tips for care, pest management, and maximizing your harvest.

Why Grow Potatoes from Kitchen Leftovers?
- Cost-Effective – You can save money by reusing sprouted potatoes or peelings instead of purchasing seed potatoes.
- Waste Reduction – Instead of throwing away old or sprouted potatoes, you give them new life.
- Fresh and Healthy Harvest – Homegrown potatoes are free from harmful chemicals and pesticides.
- Beginner-Friendly – Potatoes are hardy plants and easy to grow, even for new gardeners.
- Space-Saving Options – You can grow them in the ground, raised beds, containers, or even grow bags.
Choosing the Right Kitchen Leftovers
Not every leftover potato will produce a successful crop. Here’s what you should look for:
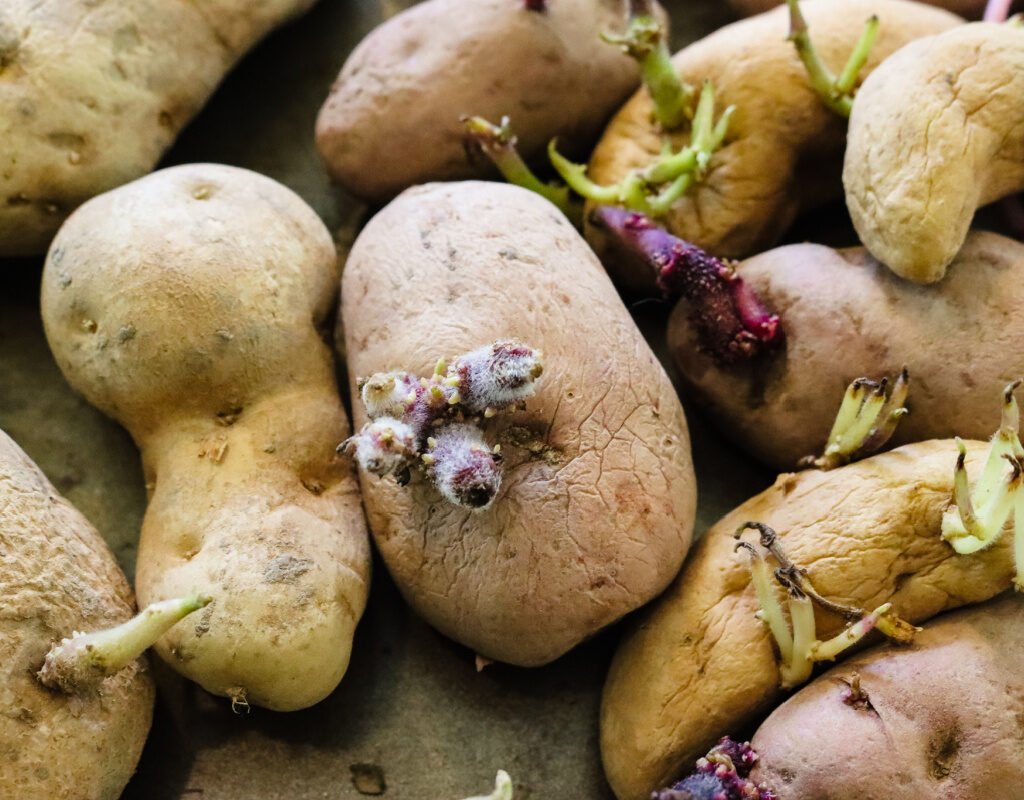
- Sprouted Potatoes (Eyes): The little shoots or “eyes” on older potatoes are ideal for planting.
- Healthy Peelings: If your potato peels contain at least one or two eyes, they can be planted directly.
- Avoid Rotten Potatoes: Do not use moldy or mushy potatoes, as they can spread diseases to the soil.
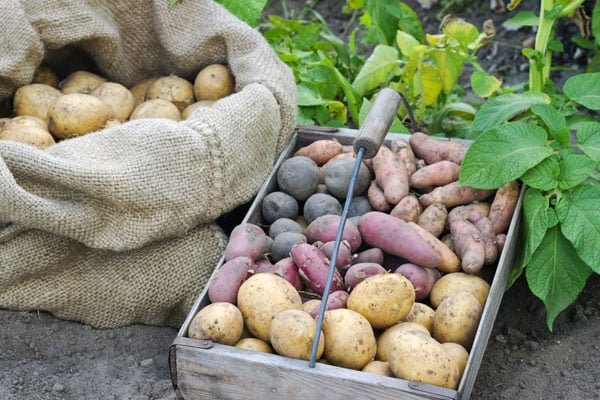
- Best Varieties: Any potato variety works, but thin-skinned varieties like red or fingerling potatoes sprout more easily compared to thick-skinned russets.
Step-by-Step Guide to Growing Potatoes from Kitchen Leftovers
Step 1: Select and Prepare the Potatoes
- Choose sprouted potatoes with strong, healthy shoots.
- If using whole potatoes, cut them into smaller chunks, ensuring each piece has at least one or two eyes.
- Let the cut pieces air dry for 24–48 hours to form a protective layer that prevents rotting in the soil.
Step 2: Choose Your Growing Spot
Potatoes need:

- Sunlight – At least 6–8 hours of direct sun daily.
- Soil – Loose, well-draining soil enriched with compost. Heavy clay soil should be avoided.
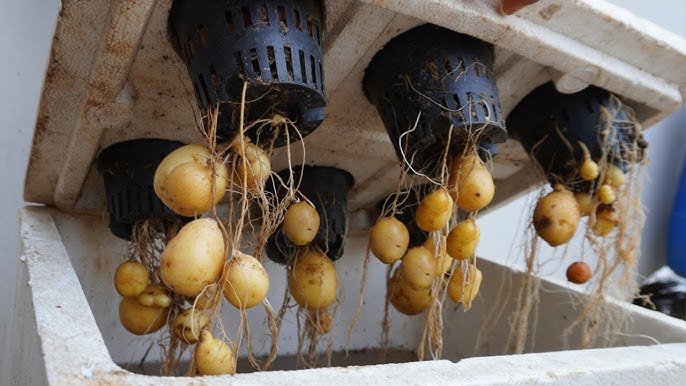
- Container Option – If space is limited, grow in large buckets, grow bags, or wooden crates.
Step 3: Planting
- Dig a shallow trench (about 4–6 inches deep) in the garden bed or prepare your container with soil.
- Place potato pieces with the eyes facing upward.
- Space them about 10–12 inches apart for proper root and tuber development.
- Cover lightly with soil and water gently.
Step 4: Hilling (Essential for Growth)
- As the potato plant grows to about 6–8 inches tall, mound soil around the base, covering the lower stems.
- Repeat this process every 2–3 weeks until the plants flower.
- Why? – Hilling prevents potatoes from being exposed to sunlight (which turns them green and toxic) and encourages more tuber production.
Step 5: Watering and Feeding
- Watering – Keep the soil evenly moist but not soggy. Potatoes need about 1–2 inches of water per week.
- Fertilization – Add organic compost, well-rotted manure, or a balanced fertilizer to support healthy growth. Avoid excess nitrogen, as it promotes leafy growth over tuber development.
Step 6: Pest and Disease Management
- Common Pests: Potato beetles, aphids, and cutworms. Remove by hand or use organic sprays like neem oil.
- Diseases: Blight and rot can affect plants. Ensure proper spacing, avoid waterlogging, and rotate crops yearly.
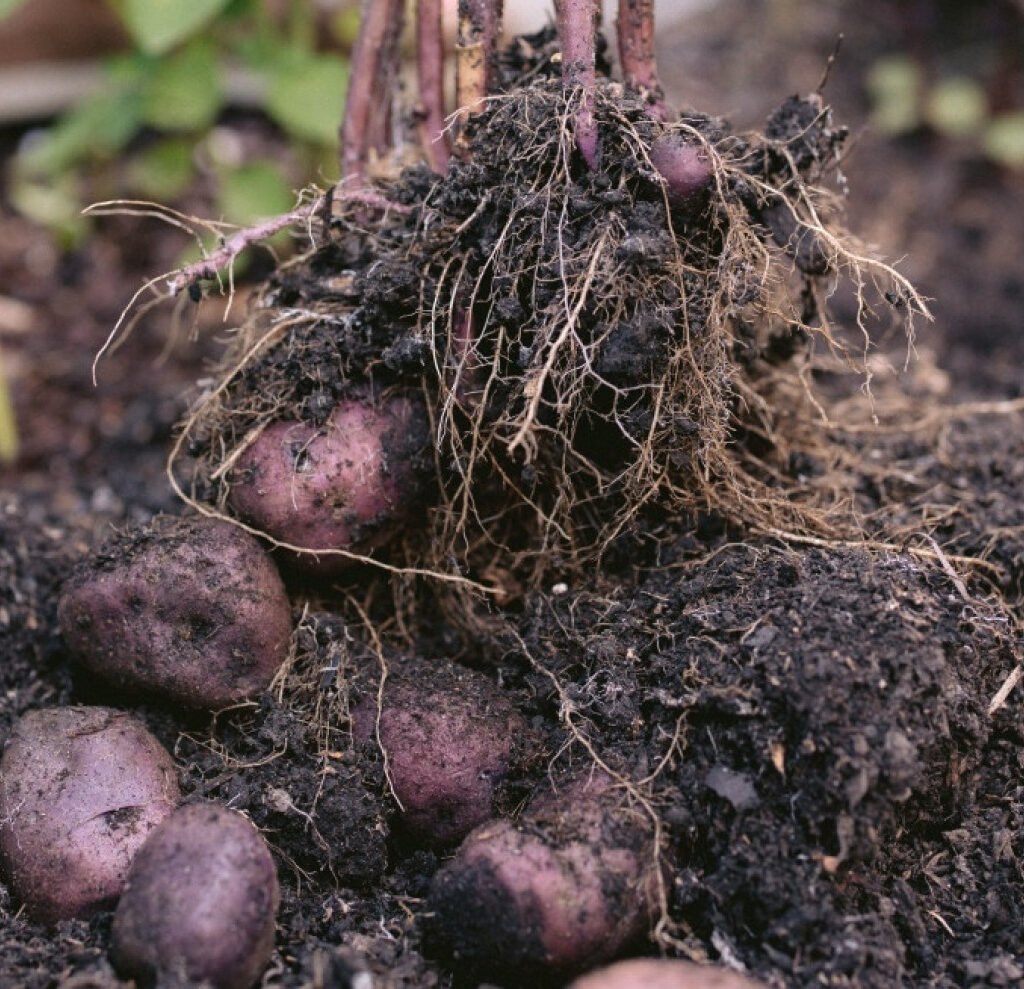
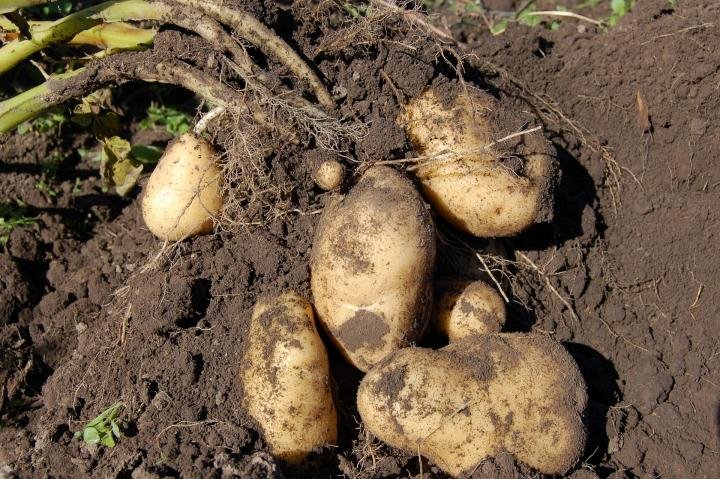
Step 7: Harvesting
- Potato plants typically mature in 10–12 weeks for early varieties and up to 16–20 weeks for maincrop varieties.
- You’ll notice the foliage turning yellow and dying back — this signals harvest time.
- Gently dig into the soil with a fork or hands to avoid damaging the potatoes.
Step 8: Storing Your Harvest
- Cure potatoes by laying them in a cool, dark, and dry place for about 1–2 weeks to toughen their skin.
- Store in a ventilated bag or basket in a dark, cool location (not in the refrigerator).
Tips for Success
- Use Grow Bags for Easy Harvesting – Just dump the soil and pick out the potatoes without digging.
- Mulching – Adding straw or mulch helps retain soil moisture and reduce weeds.
- Companion Planting – Plant potatoes with beans, corn, or cabbage for natural pest control.
- Rotate Crops – Avoid planting potatoes in the same soil year after year to reduce disease risks.
- Harvest Baby Potatoes Early – You can gently remove small potatoes without disturbing the plant for continuous growth.
Common Mistakes to Avoid
- Overwatering – Leads to rot and fungal diseases.
- Planting Green or Rotten Potatoes – Reduces chances of growth and can infect healthy soil.
- Not Hilling – Results in fewer and sunburned (green) potatoes.
- Poor Sunlight – Leads to weak plants with little to no harvest.
Benefits of Homegrown Potatoes from Leftovers
- Zero Waste Gardening – Makes use of food scraps.
- Sustainability – Reduces reliance on store-bought produce.
- Healthier Choices – No chemicals, pesticides, or preservatives.
- Fun Family Project – Kids especially enjoy watching potatoes sprout and grow underground.
Conclusion
Growing potatoes from kitchen leftovers is one of the simplest and most rewarding gardening projects you can try. With minimal effort and space, you can transform sprouted potatoes or even potato peelings into a thriving crop of fresh, delicious tubers. By following the proper planting, watering, hilling, and harvesting steps, you’ll enjoy an abundant, chemical-free harvest that’s both sustainable and satisfying.
Whether you have a large garden, a balcony, or just a small container, growing potatoes from scraps is a beginner-friendly way to step into gardening and contribute to a greener lifestyle.

Leave A Comment